
My Hearing Aid Got Wet — What to Do in the First 10 Minutes
- Jul 10th 2026
- By
You just realized your hearing aid got wet, and your stomach dropped.

Maybe you jumped in the shower and forgot to take it out. Maybe you got caught in a downpour walking to your car, or a workout left your device soaked in sweat before you even noticed.
Whatever happened, here's the good news: what you do in the next ten minutes matters more than what happens after. A wet hearing aid isn't automatically a dead hearing aid.
Moisture becomes permanent damage when it's left to sit, not the moment it touches the device.
This guide walks you through exactly what to do, step by step, starting right now. We'll also cover what to avoid, how to tell if the damage is serious, and how to make sure this doesn't happen again.
Table of Contents
- Don't Panic — Here's Why Time Matters More Than Fear
- The First 10 Minutes: Step-by-Step Emergency Response
- What NOT to Do With a Wet Hearing Aid
- How to Tell How Bad the Damage Really Is
- After the First 10 Minutes: The Next 24 Hours
- Sweat vs. Rain vs. Submersion: Does the Water Source Change the Plan?
- When to Call Your Audiologist
- How to Prevent This From Happening Again
- Comparison: Drying Methods Ranked
- FAQs
- Conclusion
Don't Panic — Here's Why Time Matters More Than
Fear
Most modern hearing aids carry an IP rating that gives them some resistance to sweat, humidity, and light splashing. That rating is not the same as waterproof, and it's not a guarantee, but it does mean a wet hearing aid has a real fighting chance if you act fast. Here's what's actually happening inside the device when it gets wet. Moisture works its way toward the microphone ports, receiver, and battery contacts. None of that causes instant failure. It causes corrosion and short-circuiting over time. That's the part you can control.
Key takeaway: the damage clock starts when the device gets wet, but it accelerates the longer moisture sits untouched. Ten minutes of the right response can be the difference between a full recovery and a repair bill.
The First 10 Minutes: Step-by-Step Emergency
Response
Work through this checklist in order. Don't skip ahead to drying before you've done steps 1 through 4.
Step 1: Remove It From the Water Source Immediately (0–30 seconds)
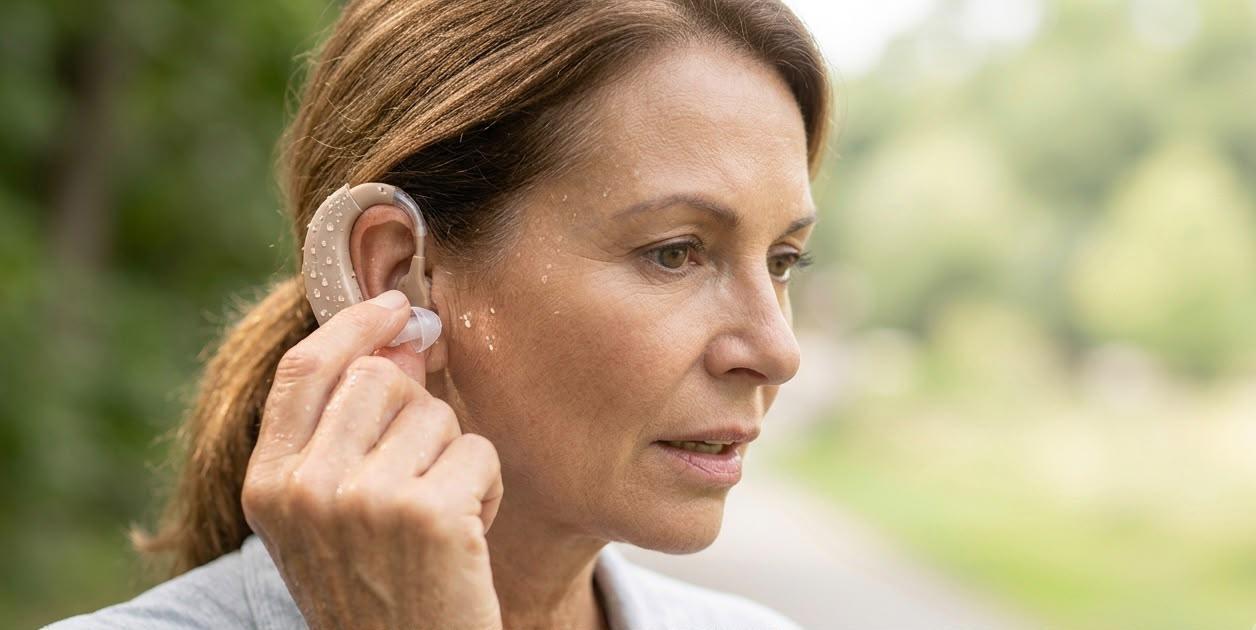
Take the hearing aid out of your ear or off your body the moment you notice it's wet. Every
extra second of contact with water increases how far moisture travels into the device.
Step 2: Power It Off (30 seconds–1 minute)
Switch the hearing aid off right away. If it's still transmitting or amplifying while wet, you risk a short circuit that a simple drying session won't fix.
Step 3: Open the Battery Door and Remove the Battery (1–2 minutes)
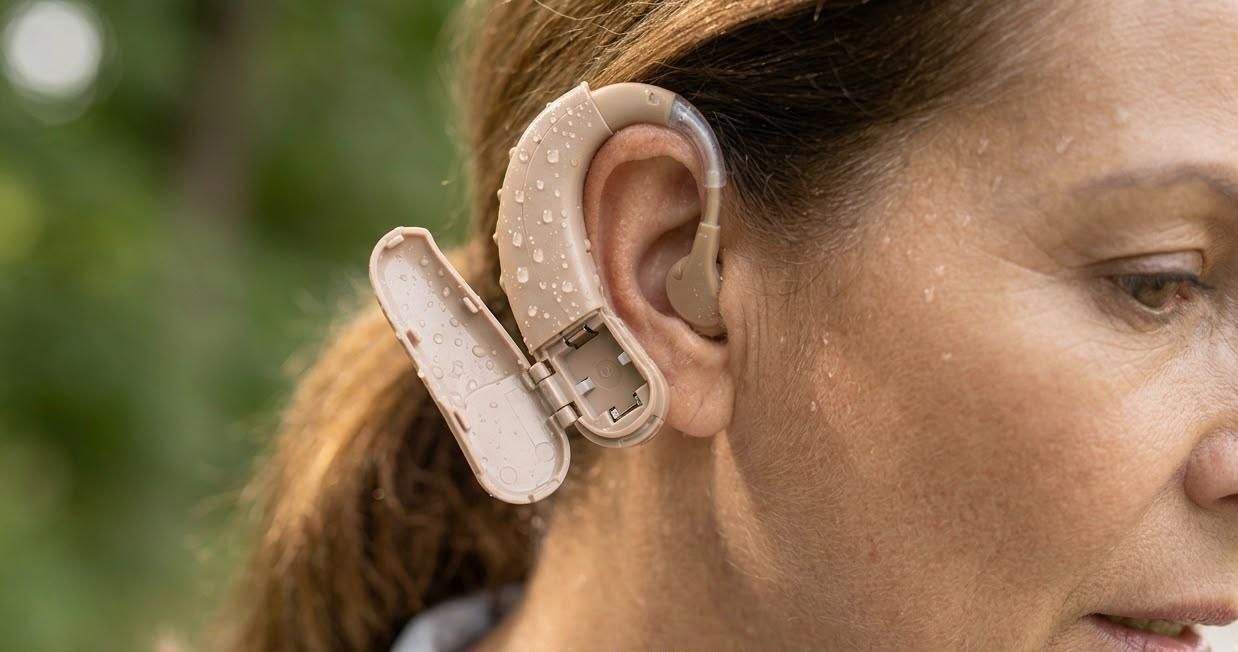
- Open the battery compartment fully.
- Remove the battery (traditional battery models) — do not reinsert it until the device is completely dry.
- If you have a rechargeable model, leave the charging contacts exposed to air; don't
place it back on the charger yet.
A wet battery left in place is one of the single biggest causes of long-term corrosion, since
battery contacts and casings degrade fast once moisture gets in.
Step 4: Blot, Don't Rub (2–4 minutes)
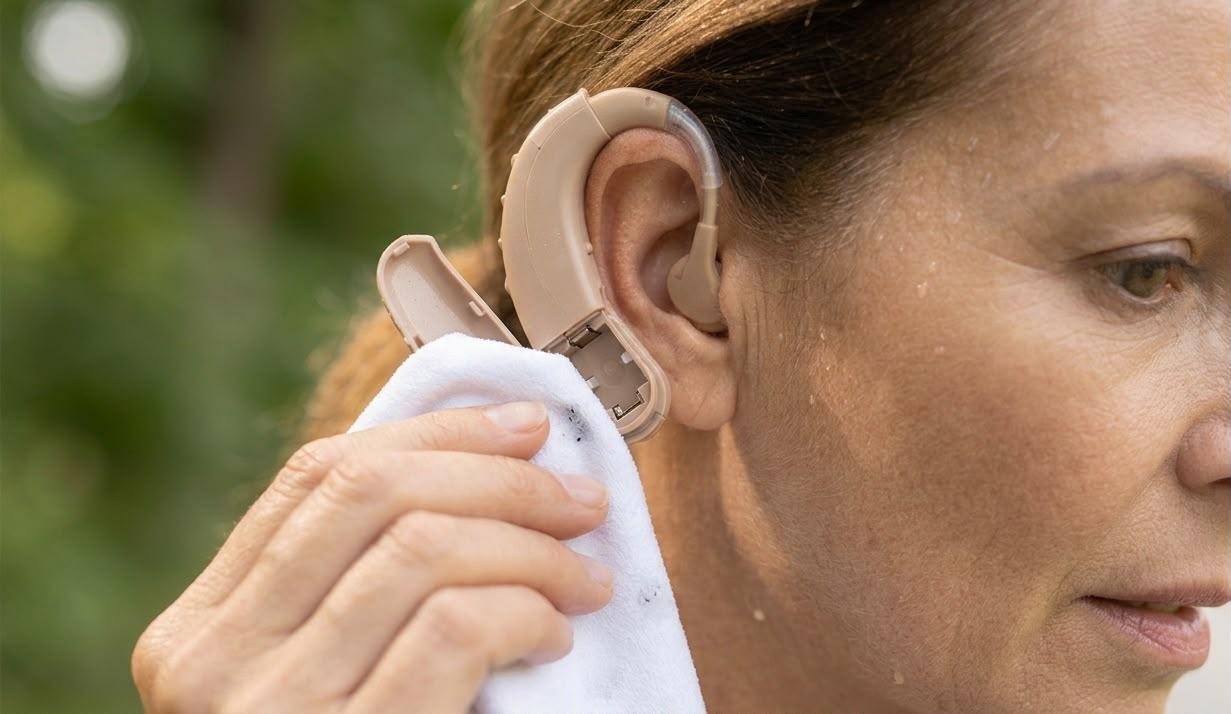
Using a soft, lint-free cloth or tissue, gently blot away visible surface moisture. Pay attention
to:
- The microphone ports (small holes on the outer shell)
- The receiver or speaker opening
- Inside the battery compartment
- Around any tubing or dome, if you wear a behind-the-ear (BTE) style
Avoid rubbing — it can push moisture deeper into the ports instead of removing it.
Step 5: Gently Shake to Dislodge Trapped Water (4–5 minutes)
Hold the hearing aid with the battery door open and give it a few gentle, controlled shakes. This helps move water out of the ports rather than deeper into internal components.
Step 6: Start Passive Air-Drying Right Away (5–10 minutes)
Set the hearing aid on a dry cloth or paper towel, battery door open, in a well-ventilated spot at room temperature. This is a holding step — real drying happens over the next several hours — but starting immediately keeps moisture from settling.
Step 7: Get a Dehumidifier or Drying Jar Running (By minute 10)
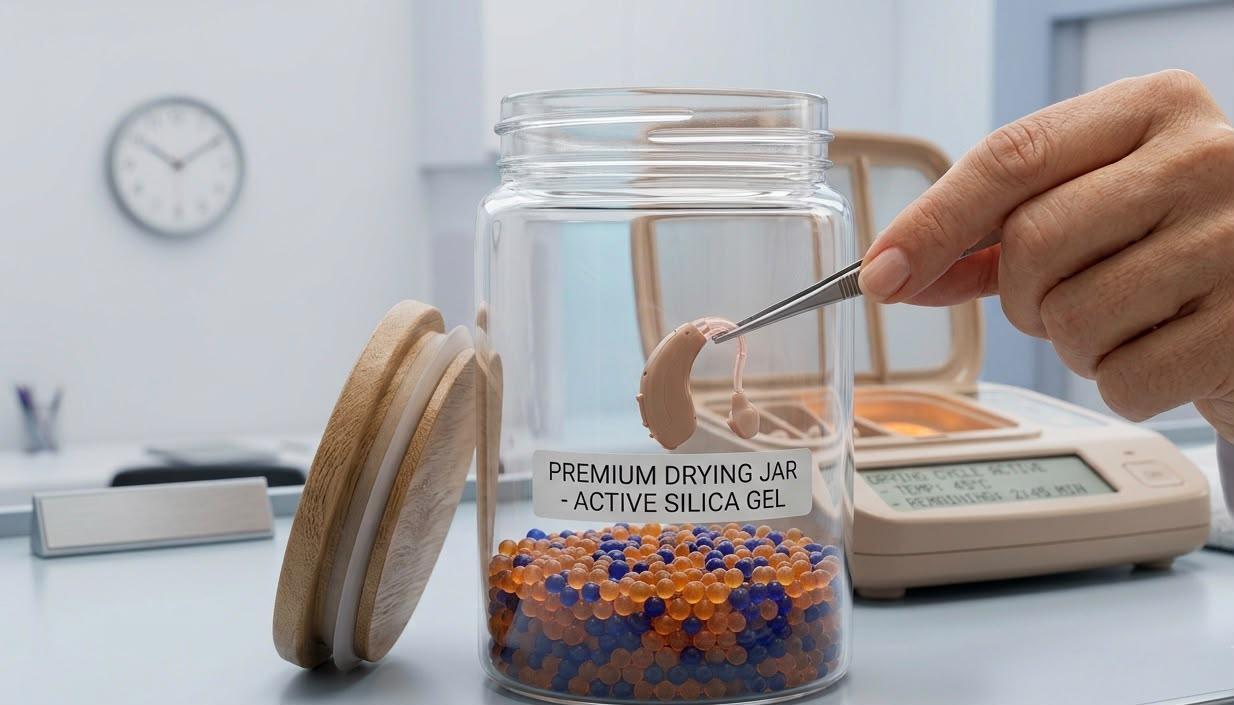
If you own a hearing aid dehumidifier, electric dryer, or a desiccant drying jar, place the device inside now. This is the single most effective action you can take in the first 10 minutes, because it starts actively pulling moisture out rather than just letting it evaporate.
If you don't own one yet, this is the point where a sweat- and moisture-protection accessory, like a hearing aid sweatband sleeve, becomes worth considering for next time — more on that in the prevention section below.
What NOT to Do With a Wet Hearing Aid
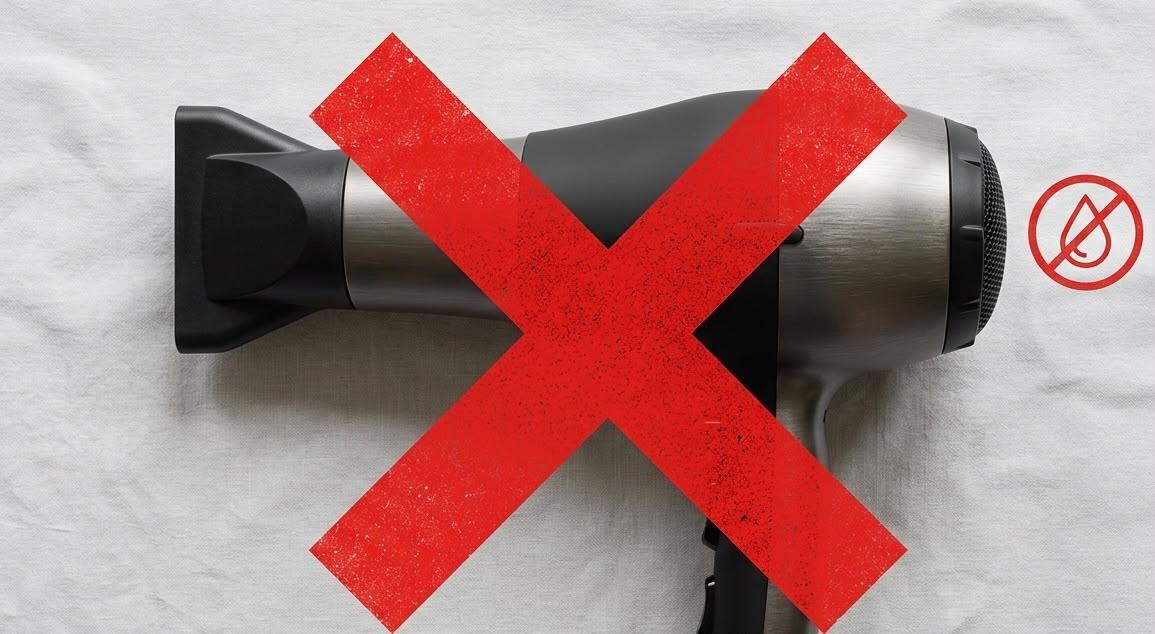
These mistakes are common, and every one of them can turn a recoverable situation into an expensive one.
- Don't use a hair dryer, oven, microwave, or radiator. Heat above normal room temperature can warp plastic housings and melt internal components. This is not a myth — it's one of the most frequently repeated warnings from audiologists.
- Don't turn it back on to "test" it while it's still wet. Powering a wet circuit is how short circuits happen.
- Don't use rice as your only drying method. Rice can absorb some surface moisture, but it doesn't reach internal components the way a proper desiccant or electric dryer does, and rice dust can get into the ports.
- Don't blow into the microphone or receiver ports. Your breath carries moisture of its own.
- Don't leave the battery in "just in case." A corroding battery can damage the compartment even if the rest of the device dries out fine.
- Don't wait until tomorrow to start drying. Passive drying should start in the first ten minutes, not after you get home from work.
How to Tell How Bad the Damage Really Is
Not every wet hearing aid needs professional repair, but some signs point to deeper
moisture intrusion. Ask yourself:
| Situation | Likely Severity |
|
Light sweat or a few raindrops, removed within seconds |
Low — usually resolves with drying |
| Splashed while washing your face or in the sink | Low to moderate |
| Caught in heavy rain for several minutes | Moderate |
| Dropped in a puddle, toilet, or full glass of water | Moderate to high |
| Fully submerged in a pool, bath, or ocean for more than a few seconds | High — professional inspection recommended |
| Device was already showing weak sound or battery issues before it got wet | High — combined risk |
If your hearing aid sounds muffled, crackles, cuts in and out, or won't power on after 24 hours of proper drying, treat that as a sign of internal moisture damage rather than a normal drying delay.
After the First 10 Minutes: The Next 24 Hours
The emergency response buys you time. What you do over the following day determines the outcome.
- Leave it in the dehumidifier or drying jar overnight, minimum. Most manufacturers recommend at least 8–24 hours, longer if the exposure was significant.
- Resist the urge to check on it every hour. Opening a drying jar repeatedly lets humid air back in.
- Keep the battery separate and dry, and consider replacing it rather than reusing a battery that got wet.
- After drying, reinsert the battery (or reconnect to the charger) and power on in a quiet room so you can listen closely for distortion, static, or weak volume.
- Log what happened — the water source, how long it was exposed, and what you did. If you need to contact your audiologist, this timeline helps them diagnose the issue faster.
Sweat vs. Rain vs. Submersion: Does the Water Source
Change the Plan?
The core first-10-minutes steps stay the same regardless of source, but a few details shift depending on what got your device wet.
Sweat
Sweat is arguably the most common — and most underestimated — cause of hearing aid moisture damage, because it happens gradually rather than as one obvious event. Users often don't realize how much perspiration has built up during a workout, hike, or hot day until performance already starts to slip.
- Sweat contains salt, which is more corrosive to metal contacts than plain water.
- Because exposure is ongoing rather than a single splash, daily prevention (like a
moisture-wicking hearing aid sweatband) matters more than emergency response for this category.
Rain
- Usually lower volume but can be prolonged if you're caught outside without shelter.
- Wind-driven rain can push water further into microphone ports than a light drizzle would.
Submersion (Sink, Pool, Toilet, Puddle)
- Requires the most urgent version of the 10-minute plan — every second counts.
- If salt water (ocean) was involved, a rinse with clean, fresh water before drying is often recommended to remove salt residue before it corrodes contacts, followed immediately by the drying steps above.
When to Call Your Audiologist
Call sooner rather than later if any of the following apply:
- The device won't power on after a full 24 hours of drying
- You hear distortion, crackling, or intermittent sound
- The battery compartment shows visible corrosion or discoloration
- Your hearing aid was submerged for more than a few seconds
- The device is under warranty — many manufacturers require documented water exposure to process a warranty claim, so reporting it early protects your coverage
Even if the hearing aid seems fine after drying, it's worth mentioning the incident at your next appointment. Internal moisture can sometimes cause slow-developing issues that don't show up for weeks.
How to Prevent This From Happening Again
Emergency response is damage control. Prevention is what actually protects your investment long-term, especially since hearing aids represent a significant cost that most people want to protect for years, not months.
Daily Habits
- Remove hearing aids before showering, swimming, or washing your face
- Open the battery door every night to let trapped moisture evaporate
- Wipe down your devices with a dry cloth at the end of each day
- Store them in a dehumidifier overnight, not just a case
For Active Lifestyles and High-Sweat Situations

If you exercise, work outdoors, or live somewhere humid, daily habits alone often aren't enough. This is where a hearing aid sweatband earns its place in your routine. Unlike a case you only use at night, a sweatband works while you're wearing your device, wickingperspiration away from the microphone and receiver before it ever becomes a "my hearing aid got wet" emergency.
A well-fitted moisture-wicking sleeve is one of the most overlooked, lowest-cost ways to reduce the single most common cause of hearing aid moisture damage — sweat exposure during exercise, yard work, or hot- weather days.
Build a Moisture-Damage Kit
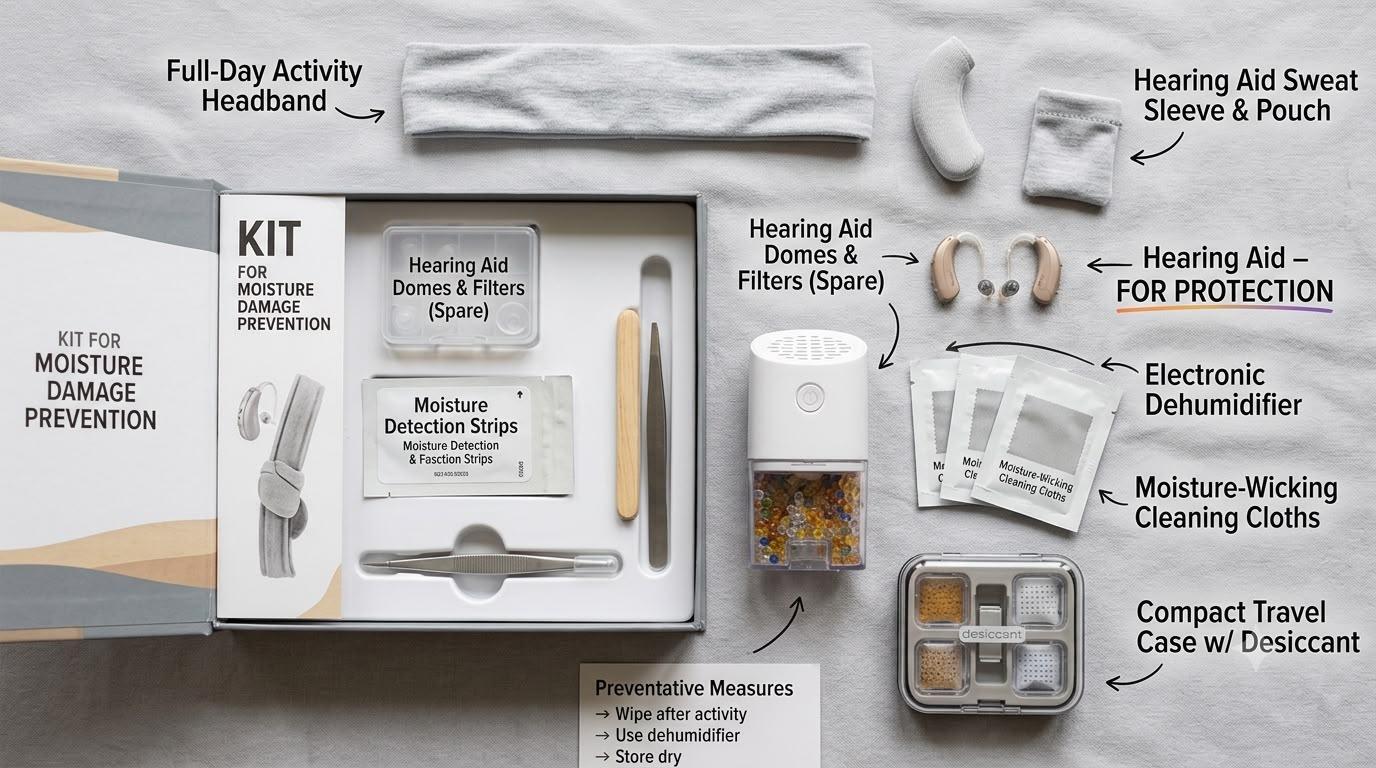
Keep these on hand so you're never caught without them:
- A portable hearing aid dehumidifier or drying jar
- A spare set of batteries stored somewhere dry
- A soft, lint-free cleaning cloth
- A hearing aid sweatband or sleeve for active days
- Your audiologist's contact information, saved somewhere you'll actually find it
Comparison: Drying Methods Ranked
| Effectiveness | Time | Needed | Notes |
| Electric hearing aid dryer |
Highest | 45 min–a few hours | Actively pulls moisture out; often sanitizes too |
| Desiccant drying jar/beads | High | 8–24 hours | No electricity needed; great for travel |
| Silica gel packets | Moderate | 12–24 hours | Good backup, less effective than dedicated dryers |
| Air-drying at room temperature | Low–Moderate | 24–48 hours | Better than nothing, but slow and less thorough |
| Uncooked rice | Low | 24 hours | Absorbs some surface moisture; doesn't reach internal parts well |
| Hair dryer or oven heat | Not recommended | — | Risk of melting or warping components |
FAQs
1. My hearing aid got wet — will it definitely break?
Not necessarily. Most modern hearing aids have some moisture resistance, and quick action in the first ten minutes significantly improves the odds of a full recovery.
2. How long should I let a wet hearing aid dry before turning it on?
At least 24 hours in a dehumidifier or drying jar. If exposure was significant, extend that to 48 hours before testing.
3. Can I use rice to dry my hearing aid?
Rice can absorb some surface moisture as a backup option, but it's less effective than a dedicated hearing aid dehumidifier or drying jar, since it doesn't reach internal components as thoroughly.
4. Is it safe to use a hair dryer on my wet hearing aid?
No. Heat from hair dryers, ovens, or microwaves can warp or melt internal components. Stick to room-temperature air-drying or a purpose-built hearing aid dryer.
5. What's the difference between water-resistant and waterproof hearing aids?
Water-resistant devices can handle light exposure like sweat or a brief splash but aren't designed for submersion. Waterproof implies full protection even underwater, which very few consumer hearing aids actually offer.
6. My hearing aid got wet from sweat, not water — is that different?
Sweat contains salt, which can be more corrosive to metal contacts than plain water, and sweat exposure tends to be gradual and easy to underestimate. The same drying steps apply, but daily prevention matters even more.
7. Should I remove the battery even if the hearing aid still seems to be working?
Yes. A wet battery can corrode and damage the compartment even if the device currently sounds normal.
8. How do I know if my hearing aid has permanent water damage?
If it won't power on after a full 24–48 hours of proper drying, or if you hear persistent distortion or crackling, that points to internal damage that likely needs professional repair.
9. Does my hearing aid warranty cover water damage?
Many manufacturers do cover accidental water damage, but coverage varies and some require documentation of the incident. Contact your audiologist or check your warranty paperwork as soon as possible.
10. What's the best way to prevent my hearing aid from getting wet during workouts?
A moisture-wicking hearing aid sweatband worn during exercise is one of the most effective daily prevention tools, since it intercepts sweat before it reaches the microphone and receiver.
Conclusion
A wet hearing aid feels like a crisis in the moment, but the first ten minutes are almost entirely within your control. Remove it from the water, power it off, pull the battery, blot it dry, and get it into a dehumidifier as fast as you can. Skip the rice-only approach and the hair dryer entirely, give it a full day to dry, and call your audiologist if anything still seems off afterward.
The bigger win, though, is never needing this checklist in the first place. If sweat is your most likely culprit — during workouts, yard work, or hot summer days — a proper hearing aid sweatband is a small habit that prevents the emergency altogether.
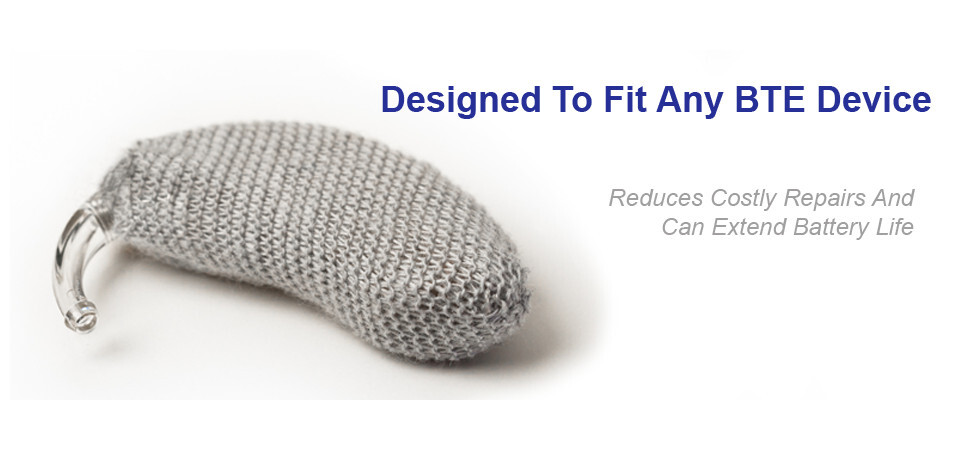
Ready to stop worrying about sweat and moisture damage before it starts? Browse our hearing aid sweatbands built specifically to wick moisture away from your devices during active days, or read our full Moisture Damage 101 guide to understand exactly how water threatens your hearing aids year-round.
